
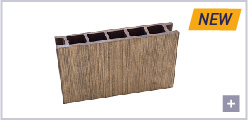
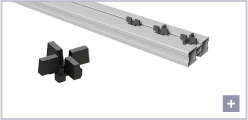
Peygran plots for outside spaces with head for aluminium strips are the ideal solution for projects in which wood or wpc floating platforms are installed.
They are an excellent alternative to other traditional methods allowing greater versatility when making the strip frame, due to the rotating clip of the strip head.
Share

XSP Lite
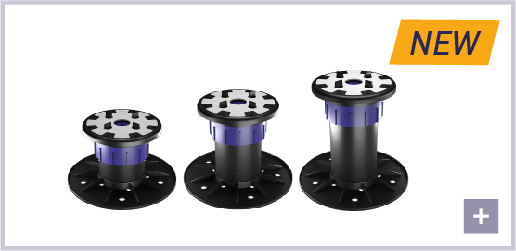
XSP Pro
ACCESSORIES

Llave XSP

Dilatador perimetral

Gancho espesorado
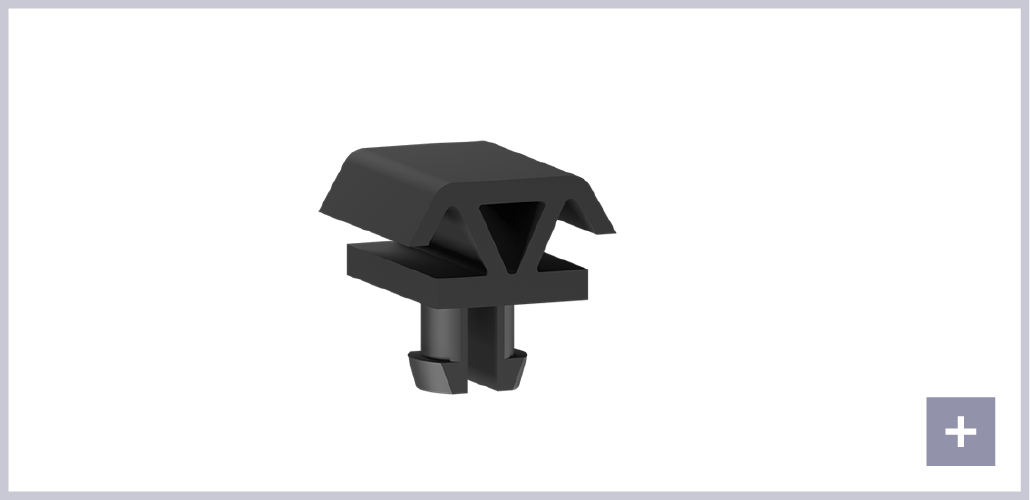
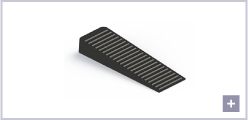
Clip rastrel
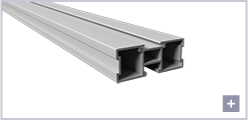
Rastrel aluminio
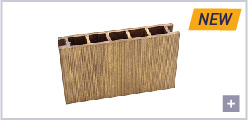
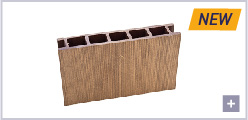
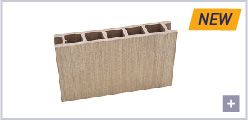
Tarima NFC Ipé
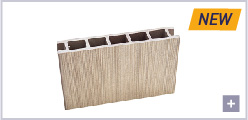
Tarima NFC Roble
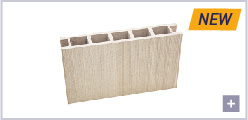
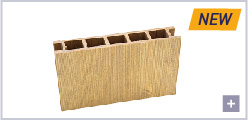
Tarima NFC Polar
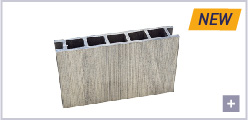
Tarima NFC Silver
Tarima NFC Cozumel*
Tarima NFC Cinnamon*
Tarima NFC Castaño*
Tarima NFC Teka*
COMPLEMENTOS

Anclaje tarima intermedio rápido
Cruceta rastrel baldosa
Cuña pavimento técnico

Gancho espesorado
Instrucciones
- 1. Indicar el largo A y ancho B de embaldosado en m
- 2. Indicar el formato de baldosa en cm
- 3. Indicar la longitud máxima entre apoyos que admite la baldosa.
- 4. Indicar si se precisa plot central o no.

TERRAZA
[m²]
BALDOSA
PARÁMETROS DE PLOTS
Longitud máxima
entre Plots [cm]
Plot central
[sí / no]
Junta
[mm]
TOTAL PLOTS
RATIO
uds/m²
Instrucciones
- 1. Indicar el largo A y ancho B de embaldosado en metros.
- 2. Indicar el formato de baldosa en cm.
- 3. Indicar la separación entre rastreles x, y la distancia entre apoyos y. Ambos multiplo de la baldosa.
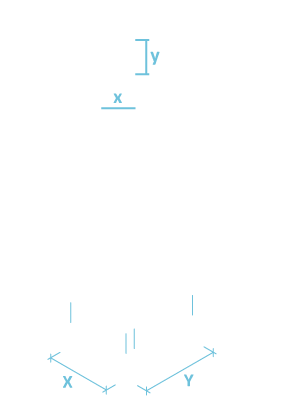
TERRAZA
BALDOSA
INTER-EJES
rastrel [mm]
entre apoyos [mm]
Plots
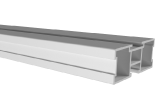
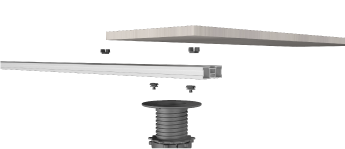
Rastrel 2m Ref. 03040141Z

Clip rastrel Ref. 03040132E - 100uds.

Cruceta Rastrel Ref. 03040131E - 100uds.

AUTOMATICALLY CALCULATE
THE PEDESTALS
YOU NEED.


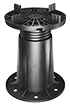
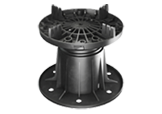
Raised floor
plot
MODE OF USE
XSPLITE How to use

1. Cut the bases for the edges and the corners
Cut the base to adjust the pedestal position as close as possible to the edge using the base cutting guides.

2. Remove the edge and corner spacers
Remove the four spacers in the pedestals located in corners and two parallel spacers in the pedestals lo¬cated at the edges.

3. Self-levelling base
The bases allow correcting up to a 3% of the tilt.

4. Slab levelling
Rotate the base clockwise to lift the slab and anticlock¬wise to lower it, until levelled.

5. Create the edge trim seal
Use the perimetral dilators (accessory) to create edge trim seals and allow the expansion of the slabbed surface without transferring any tension to the perimetral parameters.

6. Removable floor
Finally, we get a fully removable surface that allows ac¬cess to lower facilities such as sumps, electrical wiring, pipes, etc.
XSPPRO How to use

1. Cut the bases for the edges and the corners
Cut the base to adjust the pedestal position as close as possible to the edge using the base cutting guides.

2. Remove the edge and corner spacers
Remove the four spacers in the pedestals located in corners and two parallel spacers in the pedestals lo¬cated at the edges.

3. Self-levelling base
The bases allow correcting up to a 3 or 5% of the tilt depending on the model.

4. Slab levelling
Rotate the blue nut clockwise to lower the slab and anticlockwise to lift it, until levelled.

5. Create the edge trim seal
Use the perimetral dilators (accessory) to create edge trim seals and allow the expansion of the slabbed surface without transferring any tension to the perimetral parameters.

6. Adjust height with mounted floor
Once the installation is completed, it is possible to ad¬just the pedestal height with the key to readjust that the floor is flush. *It is recommended not to step on the slabs placed over the pedestal being adjusted.

7. Pedestal locking
Raise the key to the intermediate position, rotate a quarter of a turn to lock the pedestal height and reduce maintenance adjustments.

8. Removable floor
Finally, we get a fully removable surface that allows ac¬cess to lower facilities such as sumps, electrical wiring, pipes, etc.