
Peygran LS Levelling System ensures flatness between tiles avoiding movements during the mortar setting.
This reduces the time for the ceramic laying obtaining a perfect lippage-free finish.
A fast and 100% effective tool.

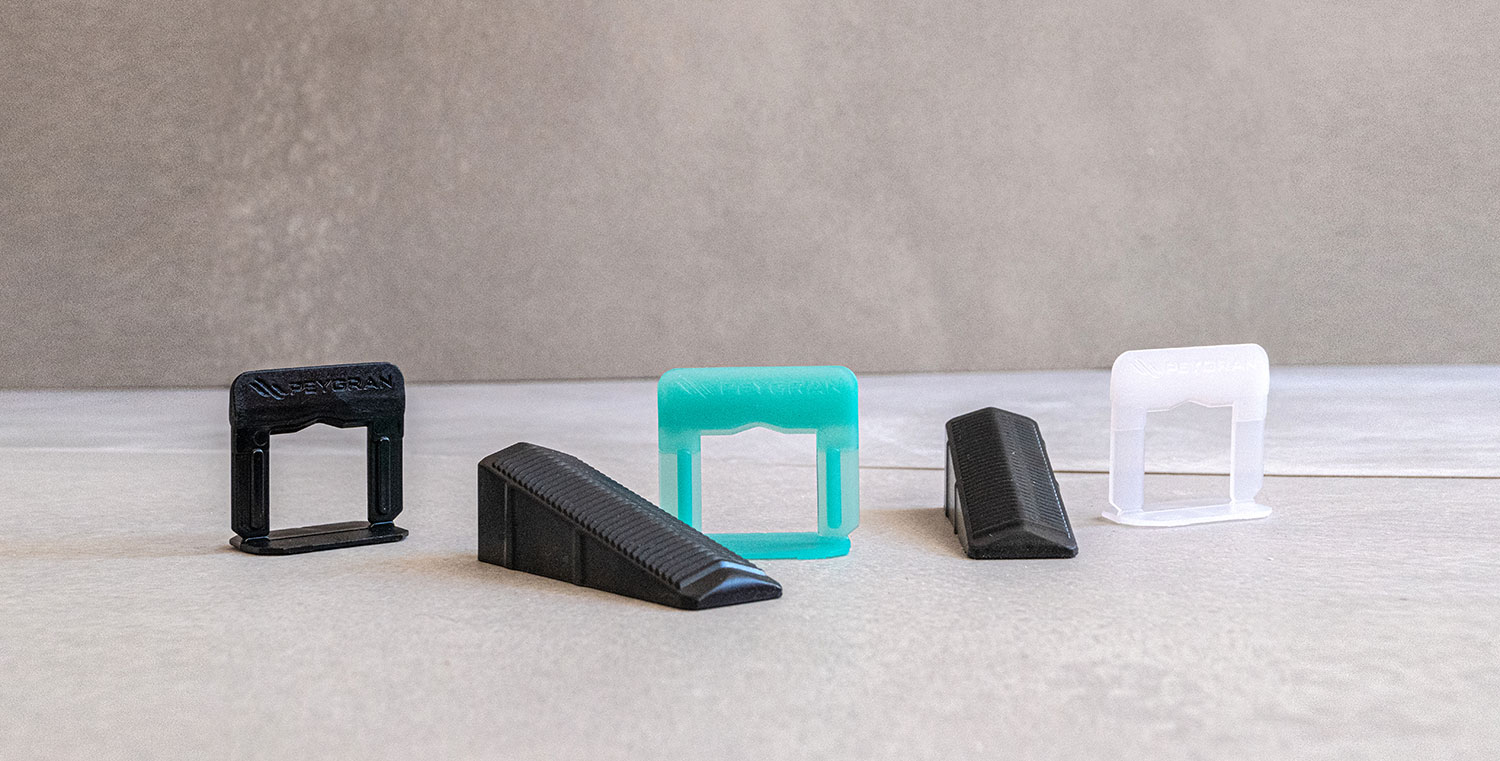
LS Compact Clip 1 mm (1/32″)
LS Compact Clip 1,5 mm (1/16″)
LS Compact Clip 2 mm (1/12″)
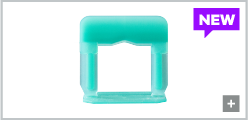
LS Compact Clip 3 mm (3/8″)

LS Compact Clip 5 mm (3/16″)
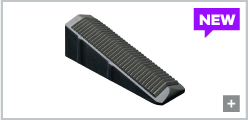
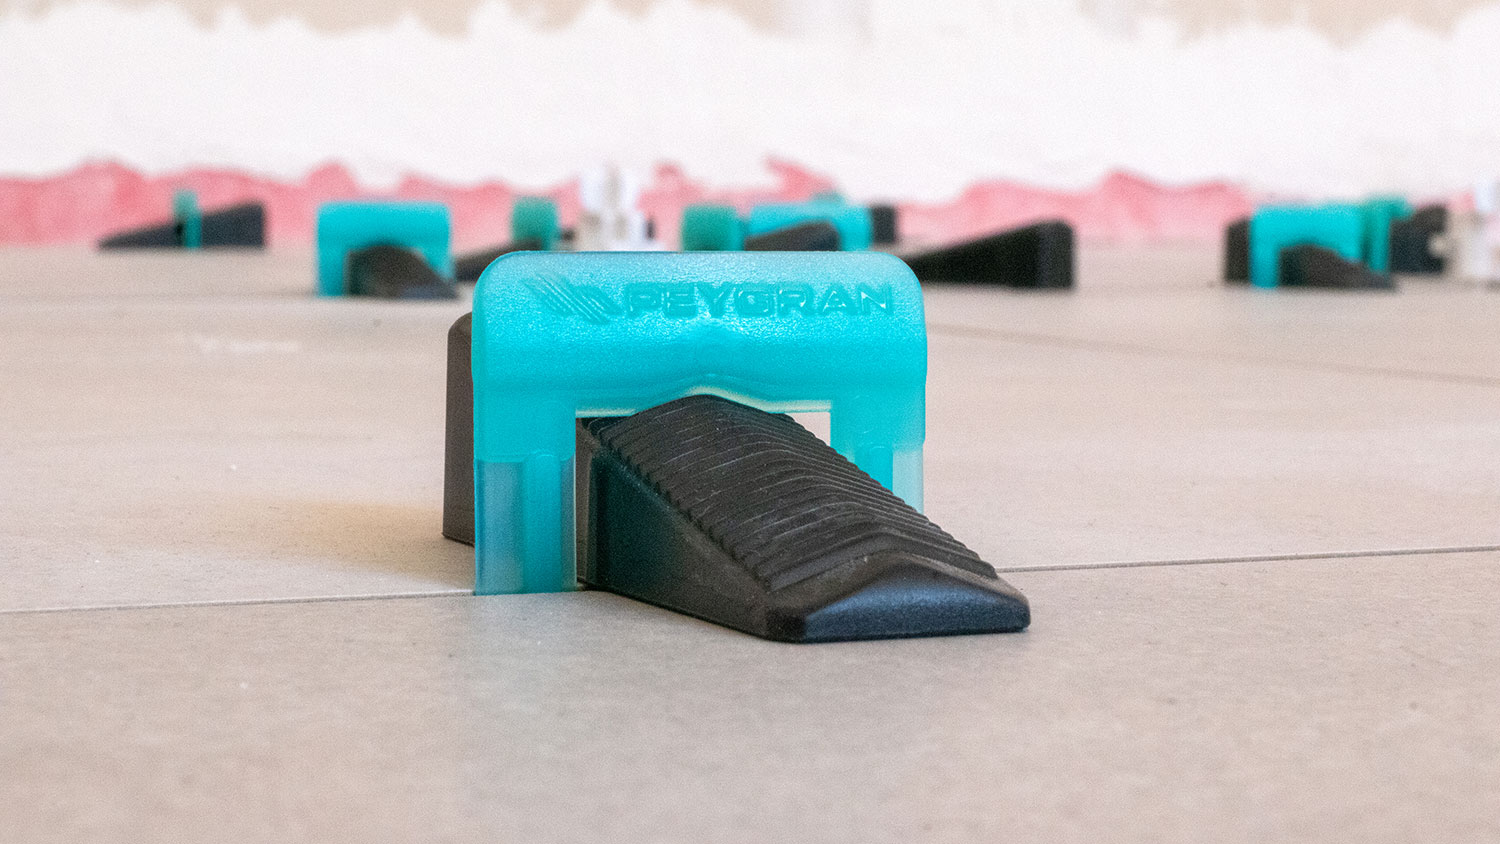
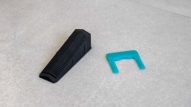
LS Compact Wedge
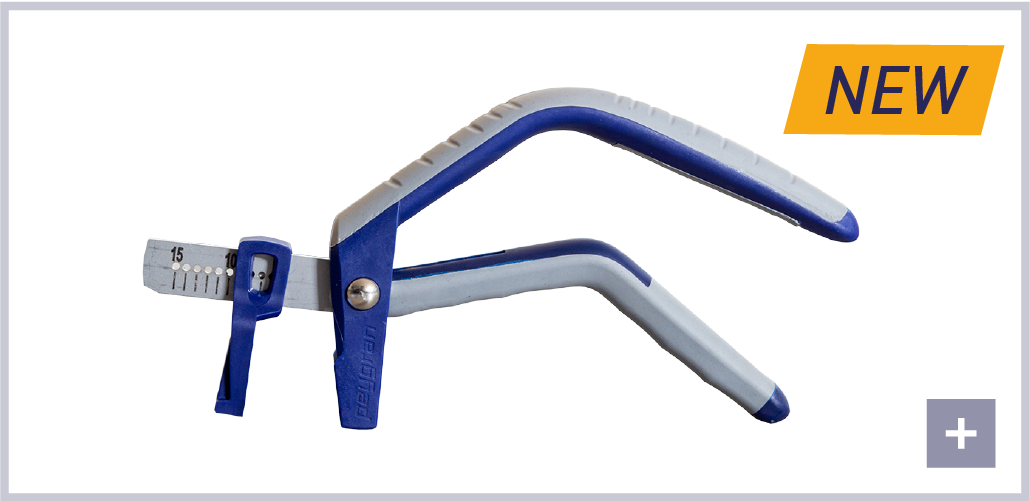
Ergonomic Pliers
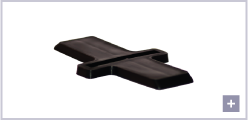
Wedge-base

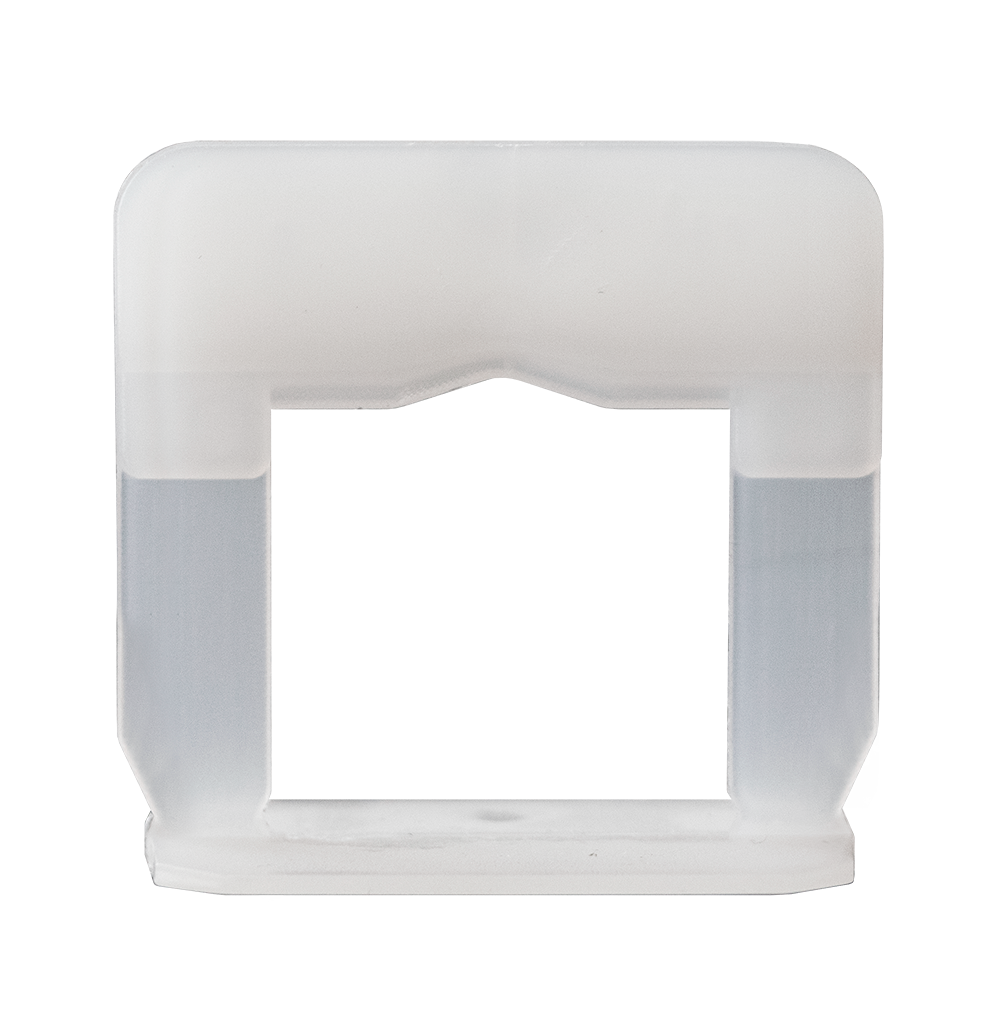
Levelling Bracket
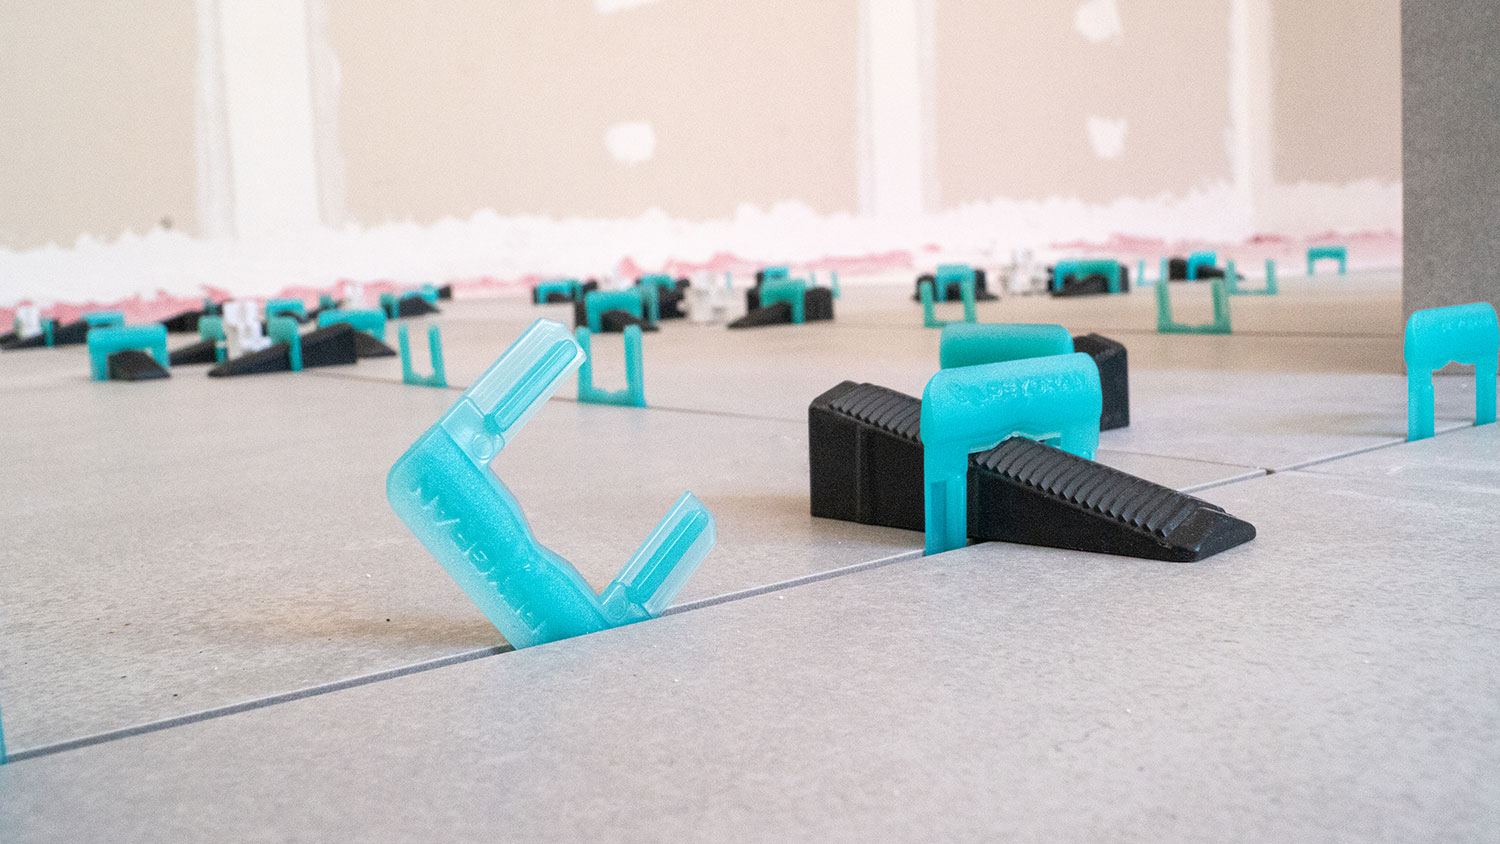
WIDE WEDGE AND ANGLED GRIP
The force is distributed from the centre towards the perimeter, where the clip has a better resistance and offer a better grip. This ensures a flawless levelling.
REINFORCED SIDES
The reinforced sides of the new Compact Wedge, together with its angles design, help to evenly distribute the force. This allows a firmer clip fastening.
SPACER IN HEAD
Peygran has managed to turn the clip head into a part that can be reused after the initial purpose has been fulfilled. Its head can be used as a spacing wedge for joints, with a thickness between 0.7 and 3 mm.
MINIMAL BASE
The Compact Clip base has a reduced thickness to facilitate placing it under the tiles. The 0.6 mm reduction means that the tile does not need to be separated from the glue to insert the clip.
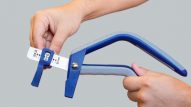
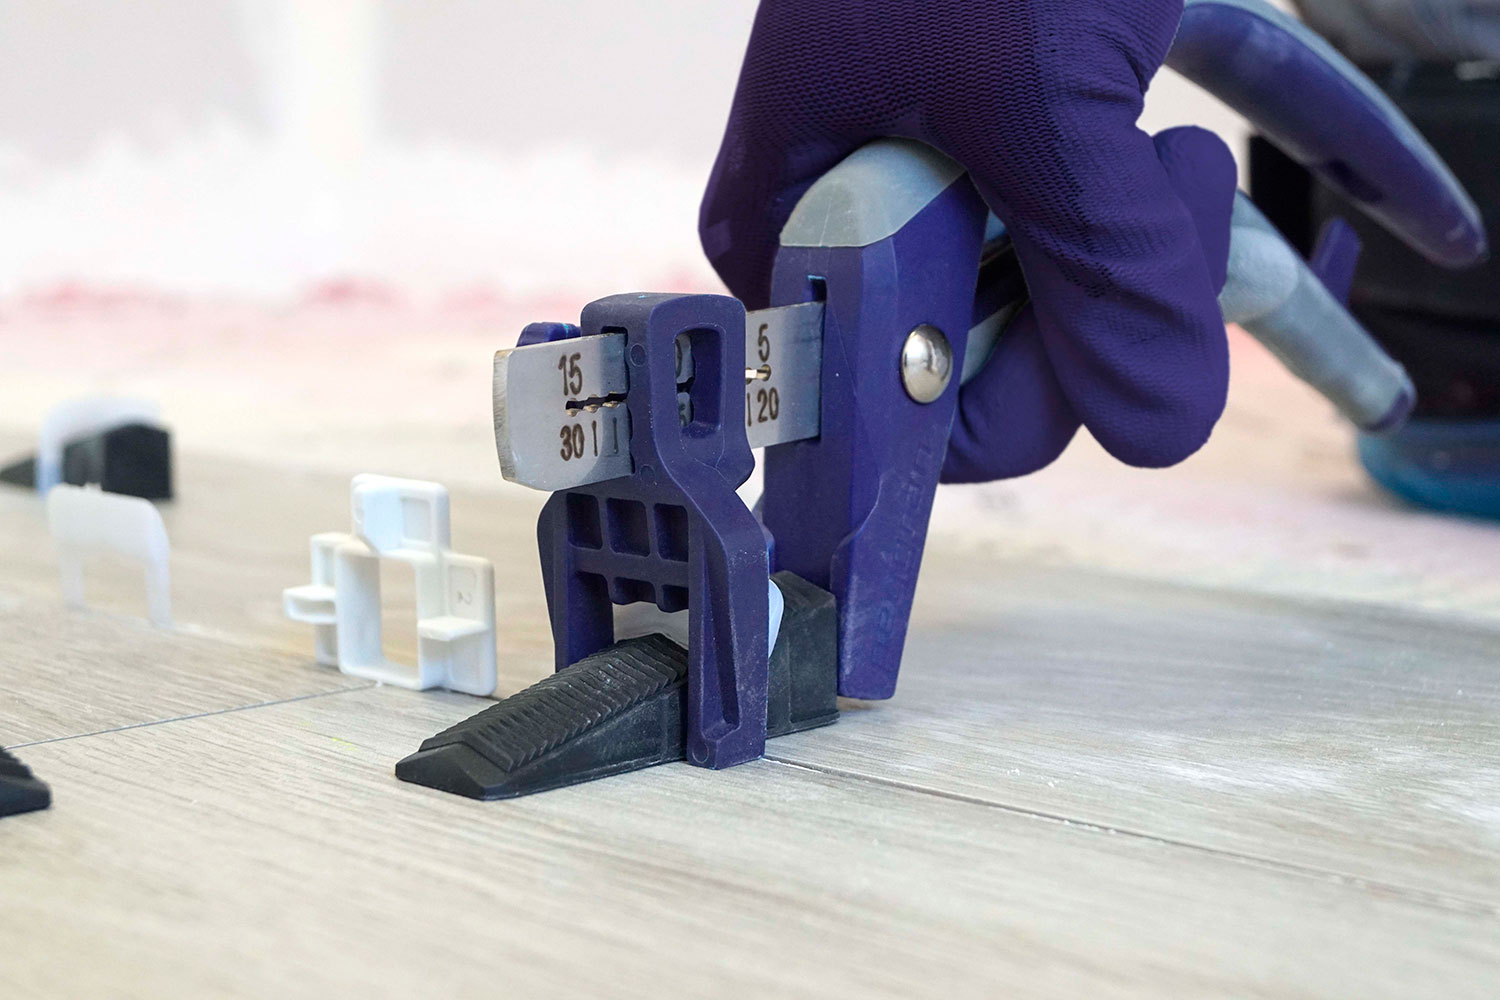
1 – ADJUST THE PLIERS
Adjust the pliers to the scale required by the ceramics thickness.
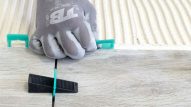
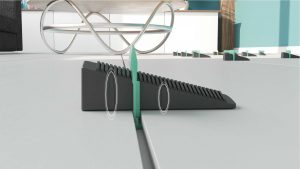
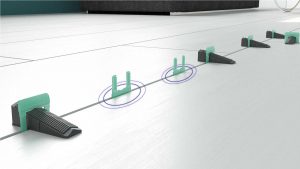
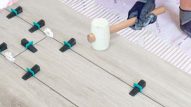
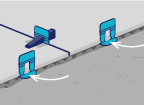
2 – PLACE THE CLIPS
Spread the glue cement and then lay and level the first tile, then set with the mallet. Insert the clip at the ends of the tile (approx. > 50 mm from the edge).
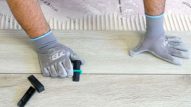
3 – INSERT THE WEDGES
When laying the adjacent tiles, insert the wedges in the clips manually.
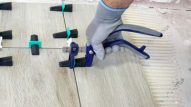
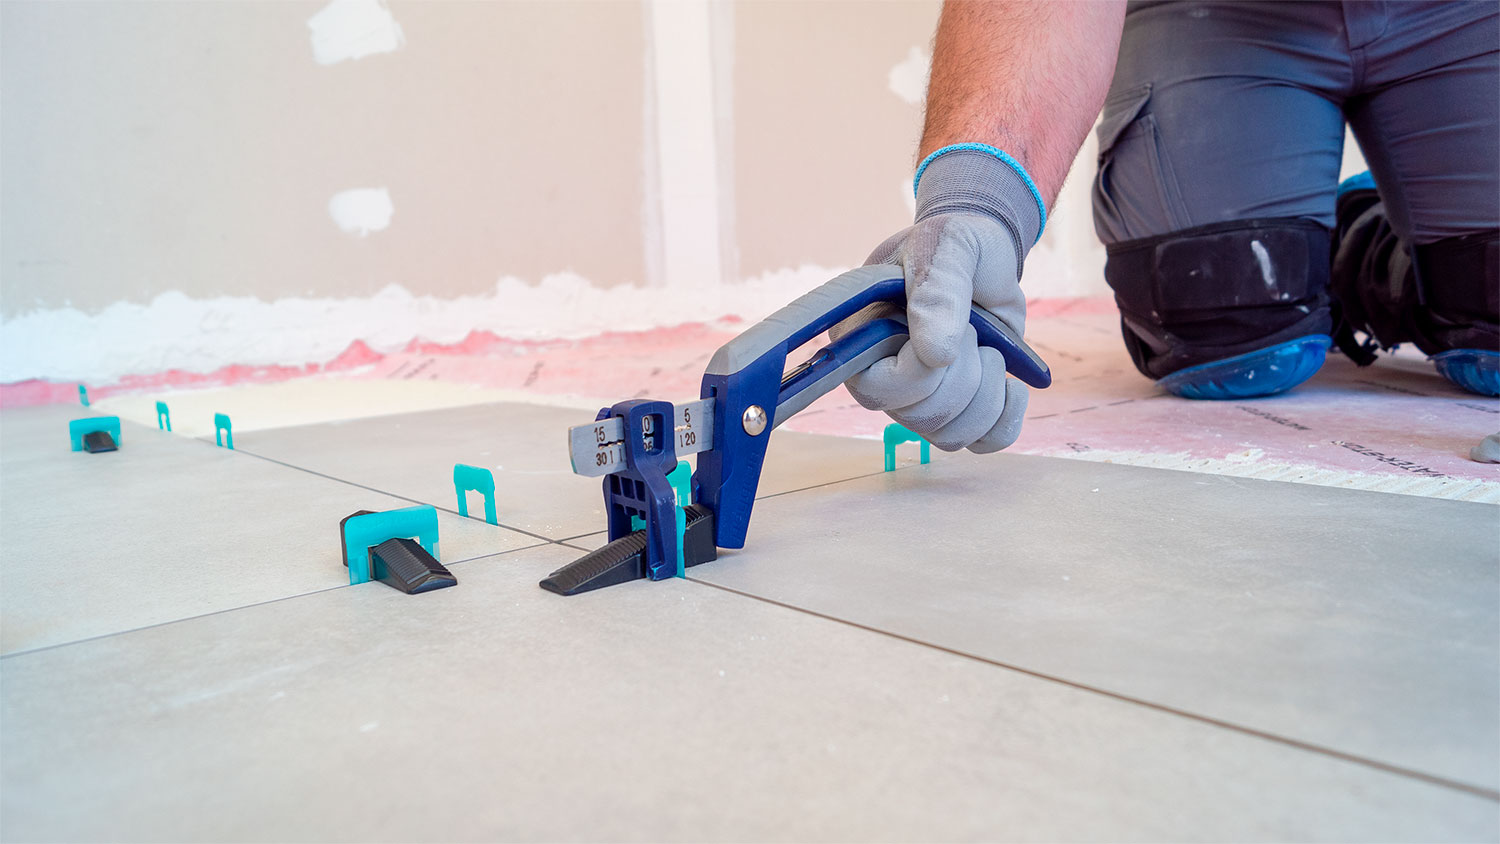
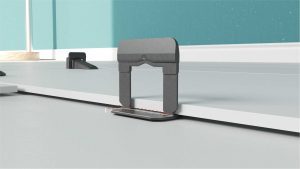
4 – TIGHTEN
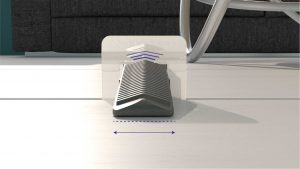
Rest the pliers as shown in the image and tighten to the maximum to level the tiles before the glue sets.
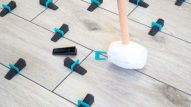
5 – TAP GENTLY WITH THE MALLET
When the tile is levelled, tapping gently with the mallet is recommended to release tensions.

6 – ALLOW FOR SETTING
When the surface is finished, allow the glue to set for the time recommended by the manufacturer.
7 – REMOVE THE SYSTEM
After the necessary time has elapsed, remove the clips by hitting them with a rubber mallet or with your foot in the direction of the joint (do not hit the wedges). The clip will always break by the side cuts, under the ceramic.
8 – REUSABLE WEDGES
Finally, recover the wedges, dispose of the rest of the clip and grout the tiles.
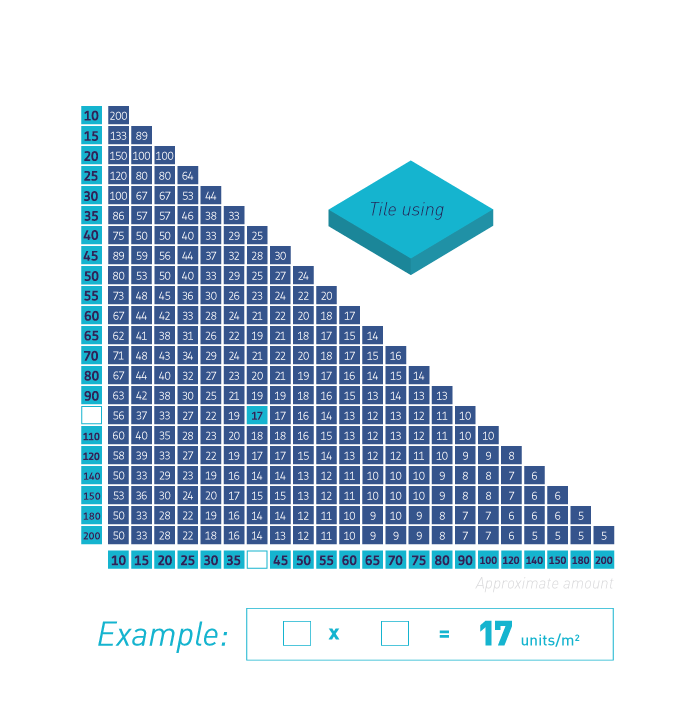
How many pieces do you need?

If laying is not finished at the end of the working day and will be continued the following day: Be sure to remove the fixing material or mortar on the last row of tiles by using the base of a clip to leave a small gap to allow you to insert the clip base the following day. The following day: fill the gaps left the day before with a trowel for edges and “fill” the back of the tile with mortar. Insert the clips and wedges and continue laying following the same process.
The clip must be under tension to break correctly. If wedges are removed earlier, such tension will be eliminated and therefore not correctly broken. If not breaking appropriately, as previously described, pull the clip with the pliers. It will break on the prefactures and consequently, under the tile. Wedges can be reused.
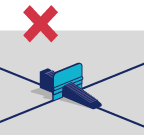
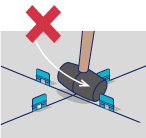
Installation will become more difficult, tile may break if tightened at the corner, apart from being very difficult to maintain the grout joint aligned.